I’ve always enjoyed making handprint crafts with young children. There’s just something about painting their sweet little hands, the giggles that ensue, and the smiles that always result. And, of course, a memory is made and a print is captured– one that can never be duplicated seeing as our children are constantly growing and changing!
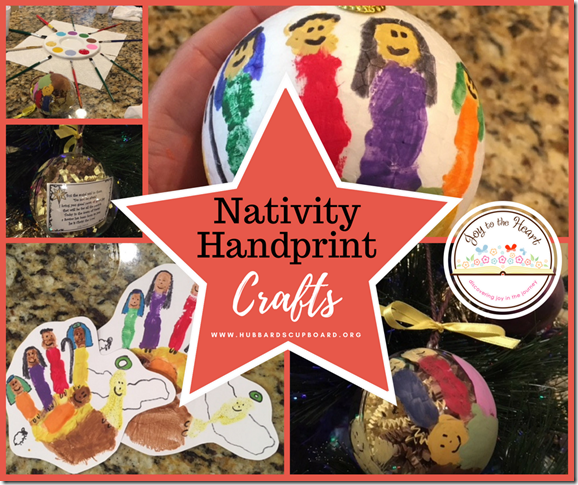
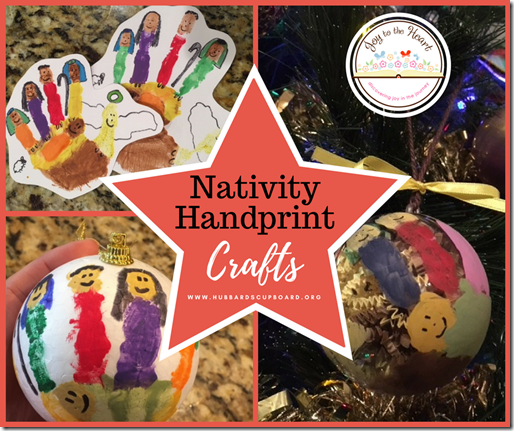
For the month of December, some common handprints that can be created are snowmen, reindeer, Santa, Christmas trees, hearts, and angels. Considering our family’s desire to focus more on the true meaning of Christmas and the birth of Jesus, I’ve often desired to make a nativity handprint. After some eager experimentation by my 9 year old, I think we’ve found one that we like! The painting involved is a bit more detailed than your typical handprint craft, but I think it is well worth the time as it produces a beautiful, meaningful keepsake.
Steps to Creating Your ‘Nativity Handprint Craft’
1) Choose what item you want to make your nativity handprint on.
You may wish to have your child’s handprint on paper, cardstock, a potholder, an ornament, a December calendar page, etc.
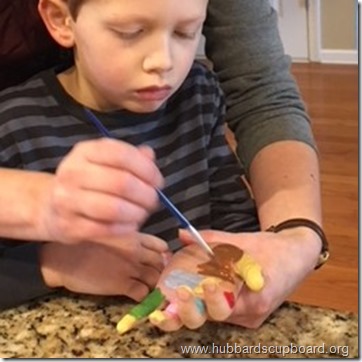
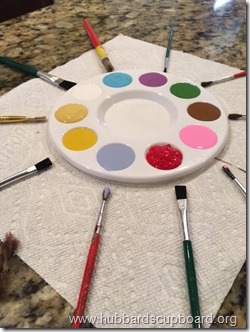
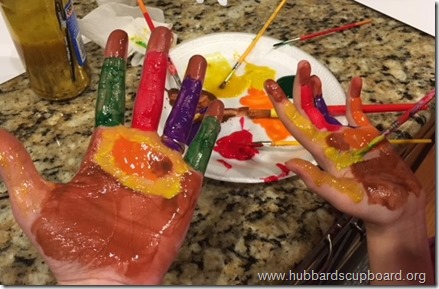
2) Paint your child’s hand.
You can use washable tempera paint for printing onto paper, but I’d recommend using acrylics for printing onto other items.
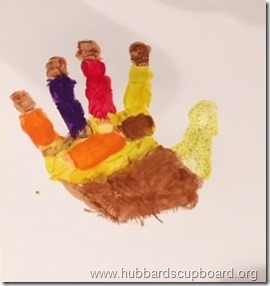
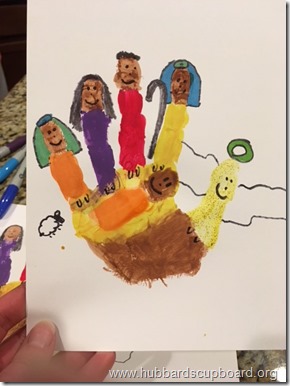
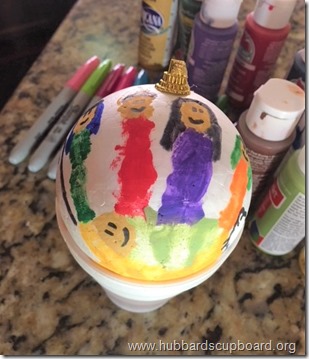
Thumb – angel (You can paint the entire thumb one color.)
Index and pinky fingers – shepherds
Ring finger – Mary
Tall finger – Joseph
(Paint the tip of each finger a skin color to form the face and then choose another color for the rest of the finger to be the clothes . Try to paint each ‘person’s outfit’ a different color.)
Palm – baby Jesus in a blanket, on yellow hay, in a brown manger
Since there is a lot of paint to be applied (and the paint can dry rapidly), you will want to try to paint quickly and/or may need to retouch a few areas of the hand before going on to the next step.
3) Press the painted hand onto your choice of material.
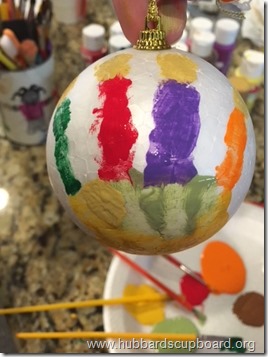
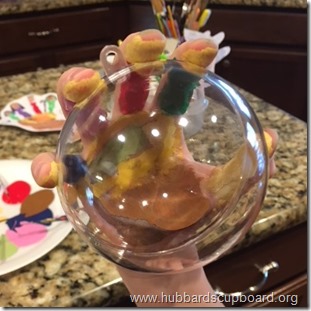
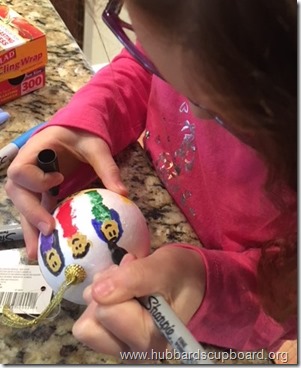
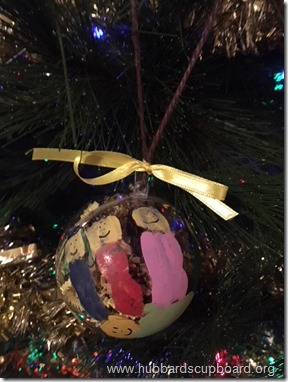
For flat items, simply have your child place their hand straight onto the paper and then gently press their hand down. For round items, like an ornament, have your child grasp the item. (You may wish to have them practice them before their hand is painted.) Whatever the item to be printed, encourage your child to not move their fingers or palm in order to avoid smudges and smears.
Once you believe the print is transferred, the child can lift their hand away – straight up from a horizontal surface. For a round object, you may wish to gently pull the round object away as he/she pulls their hand straight back in the opposite direction.
Some examples….
cardstock
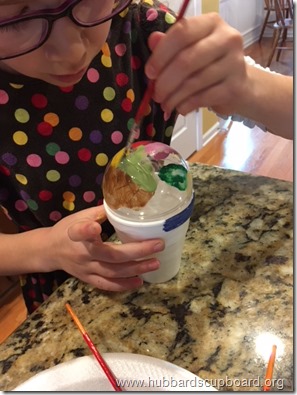
4) Use a small paintbrush to touch up any areas that may not have been filled to your liking.
You could also repaint your pinky to add wings to your angel.
5) Let air dry.
The time allowed for drying will vary based upon the material that you chose to paint. (Paper will be quicker than other items. Our plastic fillable ornaments took at least an hour to dry completely.)
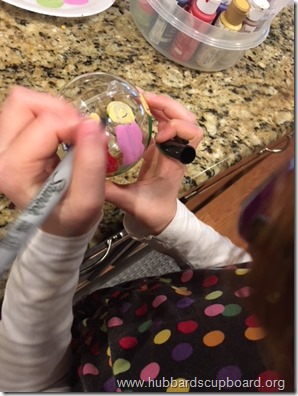
6) Use colored permanent markers to add details.
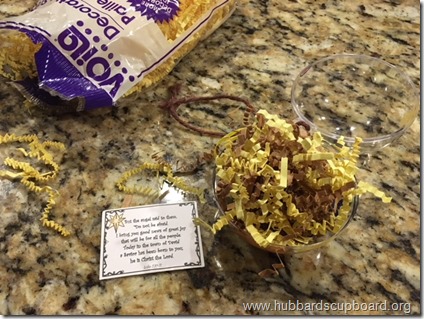
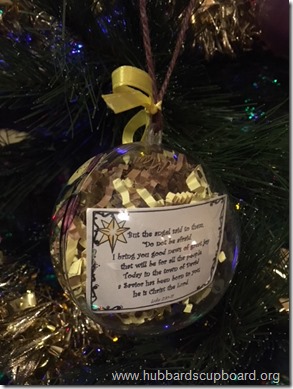
**If your handprint is painted on a clear fillable ornament, you will have a couple of additional steps.
a) stuff with shredded paper
b) add a Scripture reference
Free printable tags for Luke 2:10-11 at Hubbard’s Cupboard
c) Attach twine as a hanger and then wrap it with a thin ribbon to form a bow.
And, there you have it –
an enjoyable craft that can foster a moment to pause, during this busy season,
and to communicate the meaning of Christmas!
But the angel said to them, “Do not be afraid. I bring you good news of great joy that will be for all the people. Today in the town of David a Savior has been born to you; he is Christ the Lord.”
Luke 2:10-11
