Homeschooling with a Newborn

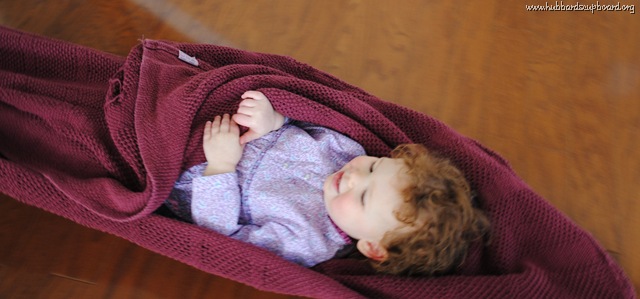
sleepingWhen my husband went back to work, we officially had 8 days to go to satisfy our state required 180 days of school.  However, I really wanted to complete all of our current curriculum and have closure to our school year –which was equal to 4 weeks worth of lessons.

I had already worked hard on getting all of the lesson planning finished and materials gathered as much as possible before the baby arrived.  It was sort of like planning for a maternity leave – only there was no substitute to call!  (Okay, daddy did sub a few times while he was off and we team taught for a little bit before he returned to work.  He did an excellent job =)  )

Now, it is just me, attempting to complete our school year with five little ones – a 2nd grader, Kindergartner, preschooler, toddler, and 2 1/2 week old infant.

So far, my goal has been to ease into school, taking two days (just mornings basically) to complete what we use to accomplish all in one day (usually all morning and some time in the afternoon).  This means that it will be taking us twice as long, 40 days to get through 20 days of actual school!  If we happen to occasionally get a full day in,  I will consider it to be a great feat!  Breaking the days up and stretching them out seems overwhelming, but it is making school with a newborn manageable.  That is what counts.  My kids don’t deserve to have a crazed mommy pulling her hair out each day!

With a newborn in tow, God is having me revisit a word I don’t often like – flexibility.  Taking two days per school day is a start.   However, I have to be flexible, not only about how much we accomplish each day and when we may actual complete this school year, but I also have to be flexible with our normal routines – when we school during the day and how we accomplish typical learning tasks.  Here are a few examples…

-taking advantage of doing hands on projects while our newborn takes a good nap
-having kids read to me or complete some work with mom as I hold a calm or semi-sleeping baby
-focusing on trying to have kids do their independent work from their workboxes as I nurse or try to console a crying, fussy baby
-asking the oldest two children to take turns playing and reading with our toddler (Since our 2 year old is use to being the baby, she seems to be experiencing greater difficulty than the other children with the adjustment to being a big sister- and having less one on one time with me.)
-being willing to read aloud stories and history as I’m nursing
-allowing time for older siblings to be around their new brother.  This might take the form of them doing their schoolwork nearby or just talking, holding, and bonding with him.
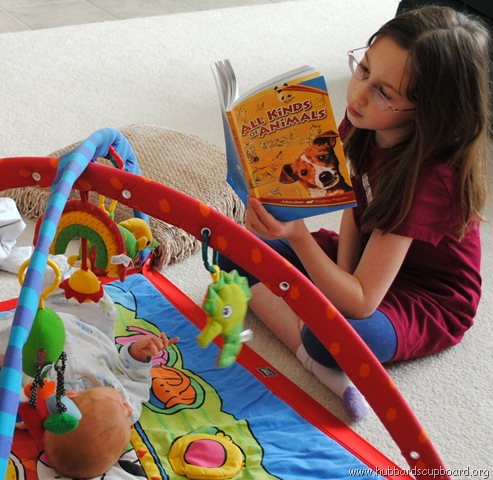
homeschooling with newborn

Also, I’ve determined that if a day is extremely trying now and then, I want to be able to throw out the academics, turn on the music (my kids love to sing and dance), play games, go outside, get out the paints, have a tea party, etc.  Yes, we will still get to the ‘school’ stuff, but we are a family first and life with a newborn is demanding – an adjustment for everyone in the home =)

As  our newborn is able to stay awake longer, we will also have to incorporate the use of our infant swing, use the play-mat and bouncy seat more, institute pack in play time, etc.  Babies grow and change quickly and we’ll have to be willing to adapt right along with our new little guy!  God has placed him in our family and I am so thankful for this opportunity to be bent and stretched.

For more thoughts on homeschooling with a newborn, you may wish to read this blog entry posted by another homeschooling mom of 6.
A Little Easter Crafting

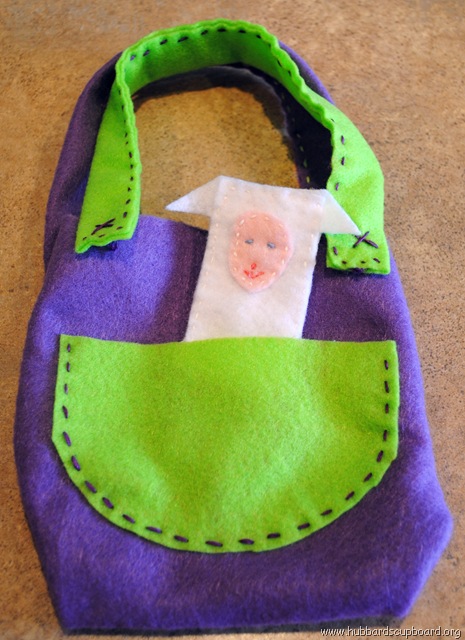
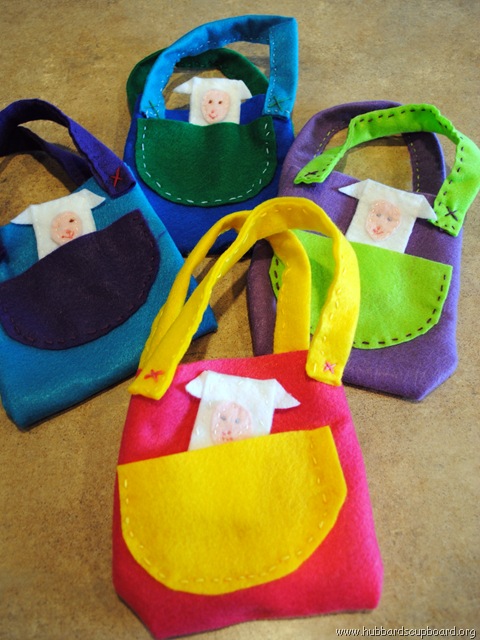
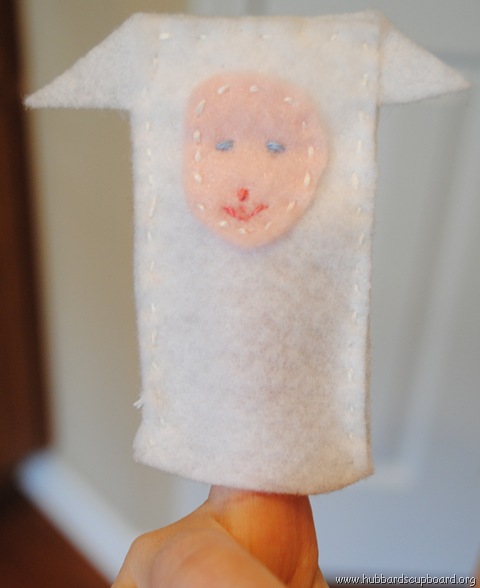
completed easter bags lamb finger puppet

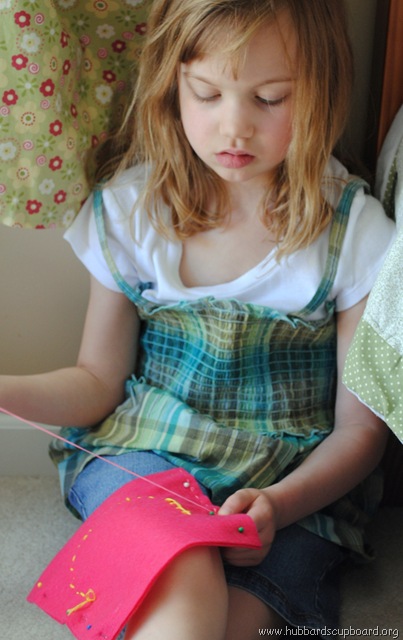
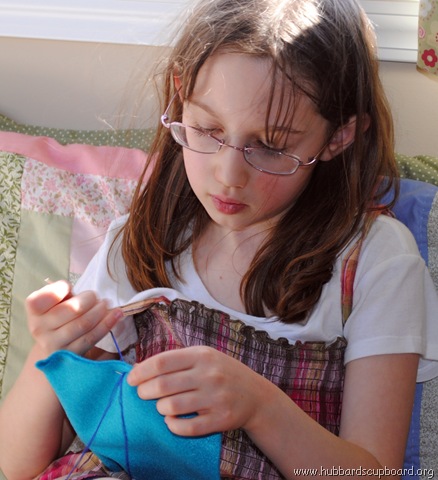
Our two oldest girls and I have just started to do some hand sewing using felt.  It is a great material for beginners to use!  We have been using My First Sewing Book: Hand Sewing by Winky Cherry, which I highly recommend, to learn basic hand sewing techniques and to learn to make some felt stuffed animals.
So, when I came across a post at Sewing School about these cute felt Easter bags, I immediately knew that it would have to be our next project.  The original idea for the bags comes from a book by Kata Golda called Hand Stitched Felt.  I am thinking if the projects in the book are similar to this one, we will have to go invest in it!

The girls absolutely loved the process and the end product turned out great as well!  Take a peek!  In the pictures, you will see four bags.  Our kindergartner sewed one for herself.  I made a bag for our toddler.  Our oldest daughter (a second grader) made a bag for herself AND one for her preschool aged brother.  These were fun and easy for beginners to complete and take pride in!

sewing the easter bags1sewing the easter bags2

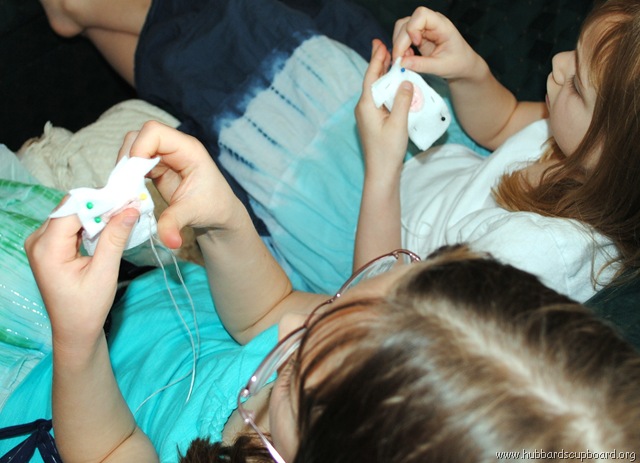
We did decide to make a lamb finger puppet instead of the bunny puppet. (That is just our family’s preference, as we tend to focus on Christ, His sacrifice, and the Resurrection around Easter time instead of the ‘Easter bunny’.) We encouraged the girls to recite memory verses with their ‘lamb of God’ finger puppets.  Also, one chose to use her bag at Good Friday services to hold a small Bible.  The other decided to use her bag to hold some crayons and paper.

sewing the lamb puppets

We just had the picture from Sewing School to go by, so I had to come up with measurements, etc. on my own.  It wasn’t too difficult to do.

For the Easter bag:
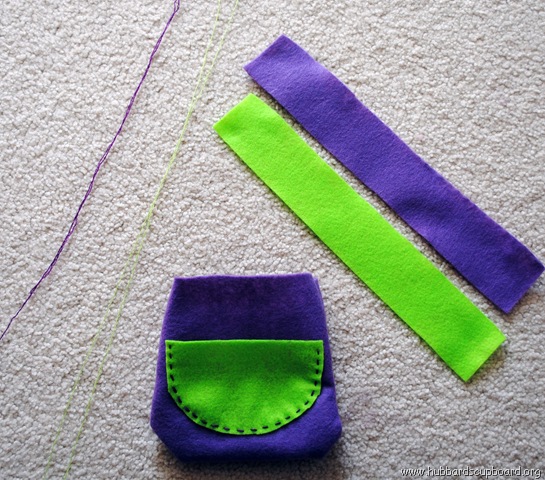
Fold a 9 by 12 inch piece of felt in half, placing the folded edge at the bottom.  Cut a two inch strip from one side.  (This strip can be used as one the handles.)  From a coordinating color, cut a pocket shape and another 2 by 12 inch strip (for the second handle).  Pin the pocket onto the piece to be used for the bag.  Sew.  Pin the side edges of your bag, with the pocket now on the inside.  Sew.  Flip the bag inside out so that your pocket is now on the outside.  Fold your two 2 by 12 inch strips lengthwise and pin.  Sew.  Pin the newly formed handles to the outside of your bag.  Make several X stitches to firmly secure the handles to the bag.

easter bag pieceseaster sewing project

For the lamb finger puppet:
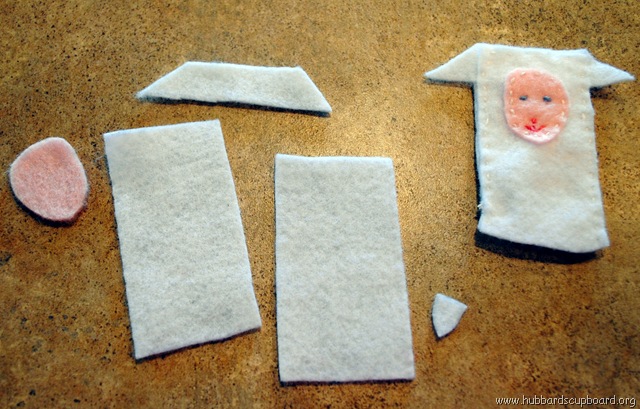
Cut two 3 inch by 3 5/8 inch pieces of white felt.  Also cut a small tail and a shape as seen below for the ears.  Cut a small oval face shape from light pink, tan, peach, or gray felt.  Sew the tail to one of the white rectangles.  Sew the face to the other white rectangle.  Sew the mouth, nose, and eyes onto the face (or draw with permanent marker).  Insert the ear piece at the top, between the two pieces of rectangular felt.  Pin to secure.  Sew around the edges of the rectangle pieces, leaving an opening at  the very bottom.  Voila!  A lamb finger puppet to make a home inside the pocket of your Easter bag!

lamb pieces

Blazing New Uses for our Entry Way

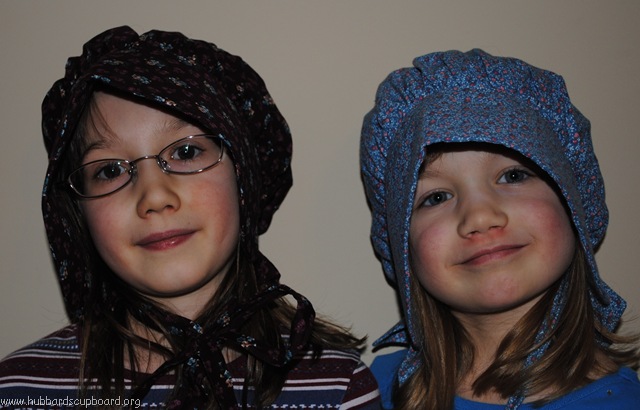
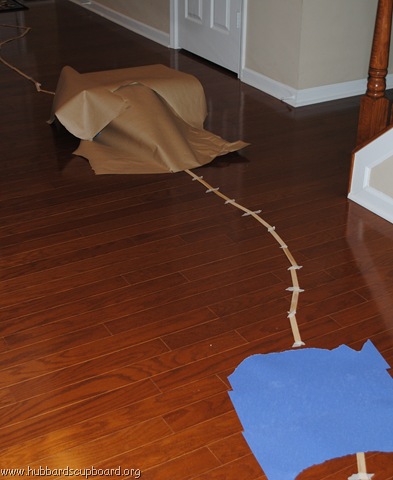
I always thought that our entry way was the most unused, largest waste of space in our home  – until recently.  Two weeks ago, our entry way was altered to accommodate several events during our indoor winter Olympics.  Then, last week, it was transformed into a trail ready for our pioneers to blaze!pioneer girls

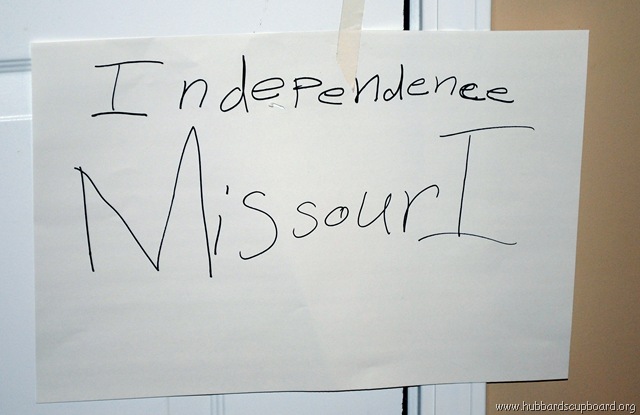
Where the trail begins… Independence, Missouri (aka the front door).
starting out

The ‘Rocky Mountains’ and a river for the wagon train to bravely cross…
rocky mountains and river

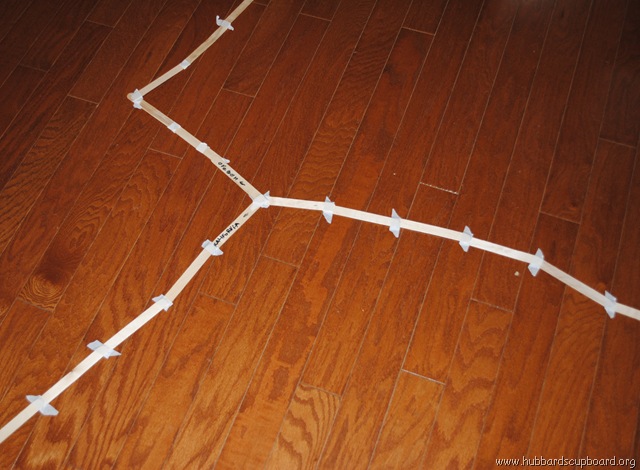
Where the trail splits – Will the pioneers head to Oregon or to California?  (Most of the pioneers in our home decided to follow the California trail to the living room to see if they could be successful at panning for gold!)
the trails split

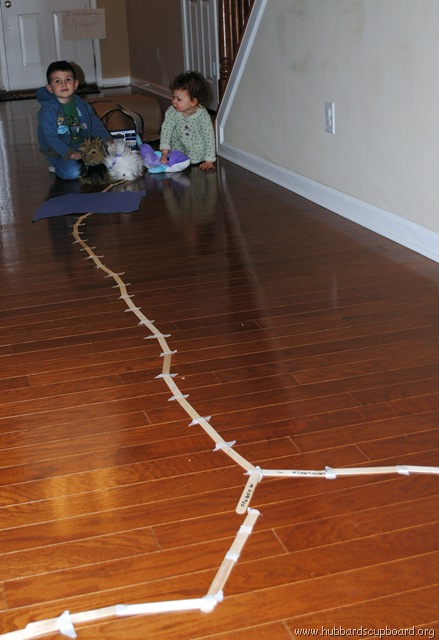
Our youngest pioneers using the trail (Yes, that is a dolphin in my toddler’s hands.  These two little ones also experimented with trying to cross their toy trains and cars over the mountains.)
younger kids on the trail

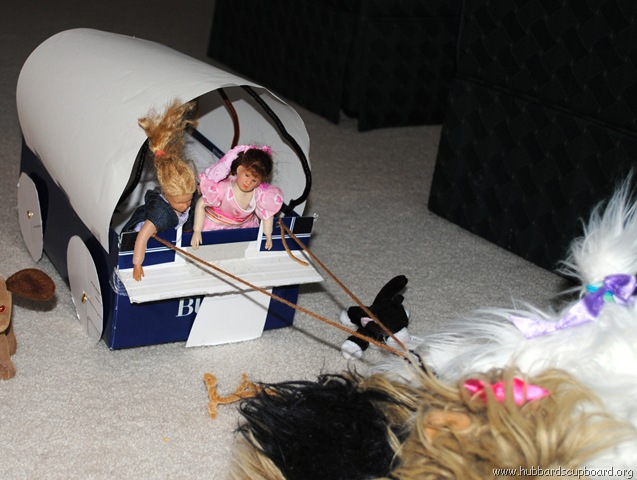
And, of course, the covered wagon!
Covered Wagon

What will our kiddos think of next?

2010 Indoor Winter Olympics

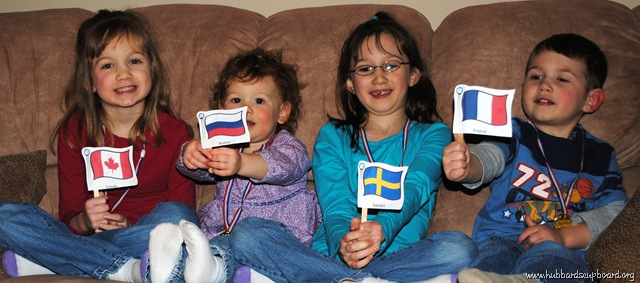
Group Flags

Our children raved about our family’s 2008 Summer Olympics so much that before the 2010 Winter Olympics even began, they were asking what we were going to do to celebrate and compete at home.  I have to admit that the winter sports were much more challenging to try to recreate in order to have some fun learning experiences for the kids.  I searched online, combined ideas from various sites, and finally came up with a plan.   So, without further adieu, come follow our Olympians as they compete at the 2010 Indoor Winter Olympics!

Opening Ceremonies
Our Opening Ceremonies were not grand by any means, but it built excitement that would lead up to the Olympic events for the day.

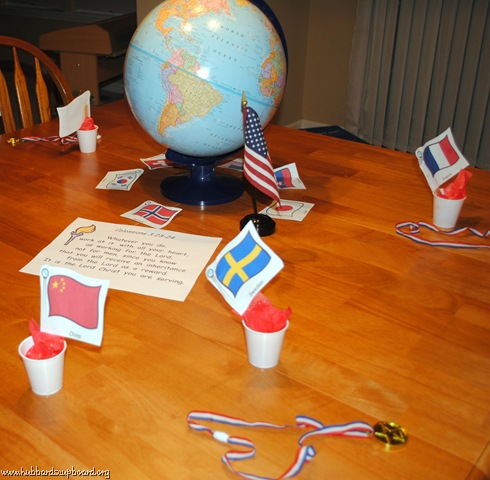
  • We located Vancouver, British Columbia on our globe (as well as the other countries for which we had flags).
  • Each child represented their chosen country. We attached mini flags to our shirts and to our winter hats to indicate which country we represented.
  • We reviewed and discussed Colossians 3:23–24.
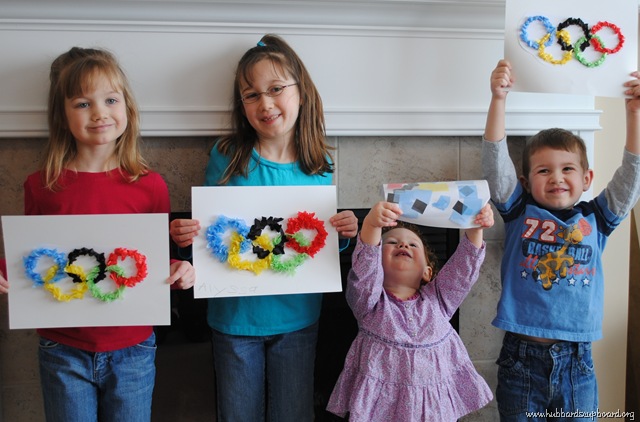
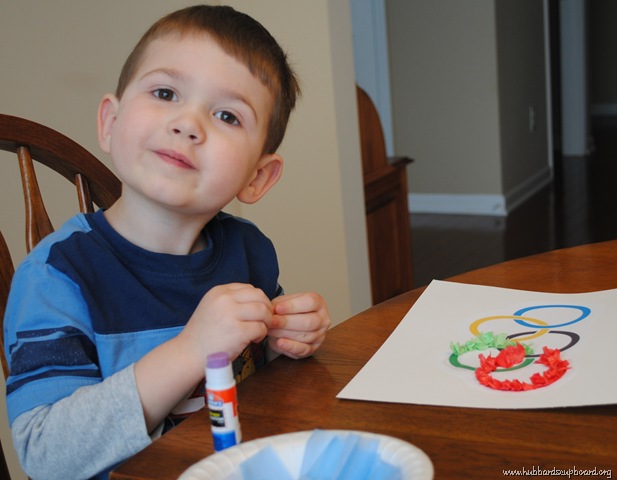
  • The children made Olympic Rings from tissue paper.
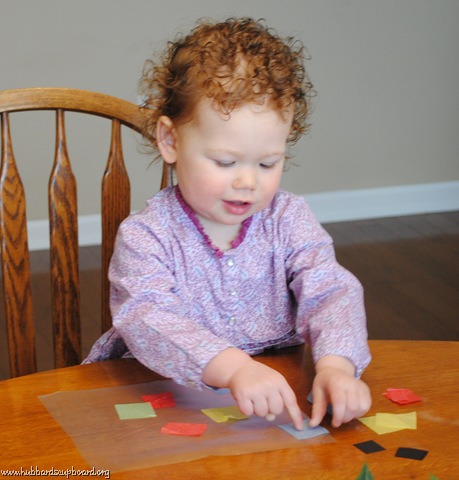
    Tissue Paper FlagToddler Flag
  • To get more familiar with the winter sports involved in the Olympics, we viewed photos of real events and watched a few short video clips from the official Olympic site.
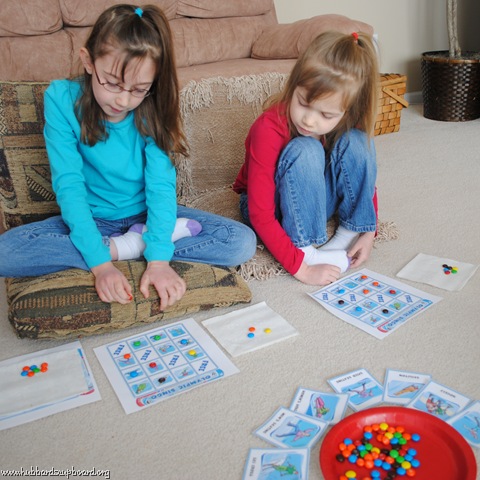
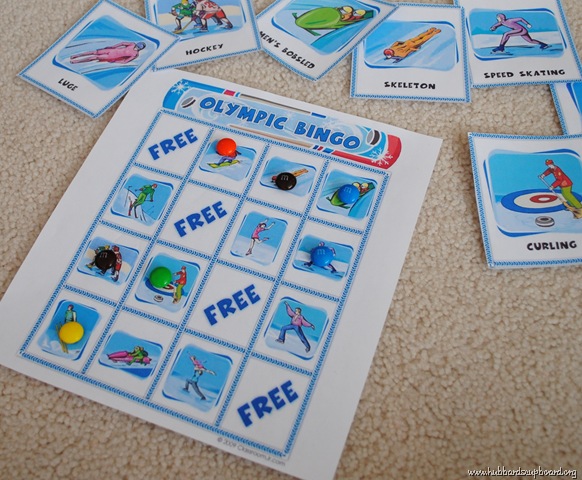
  • Next, they played Winter Olympics Bingo.
    Bingo1Bingo2

Our Olympic Events

Figure Skating
The Olympians ‘skated’ in their sock feet, attempting to spin and twirl on one foot, jumping and landing on one foot, and of course, performing the free skate.

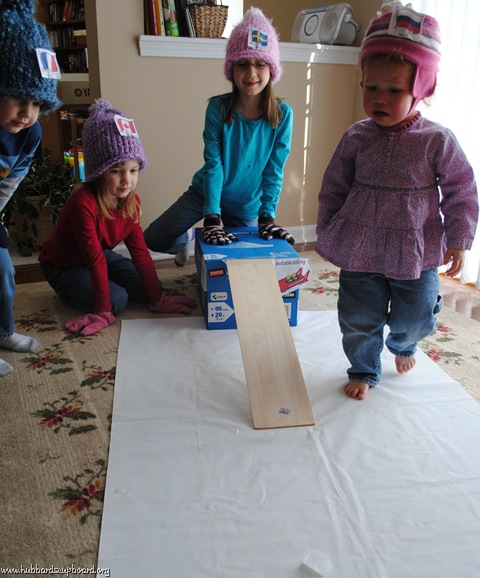
Ice Cube Bobsled Race
Bobsled

Yes, we had to bundle up…After all, it’s cold on the track!

Olympic Ring Toss
The Olympians attempted to throw diving rings onto a full bottle of pop.

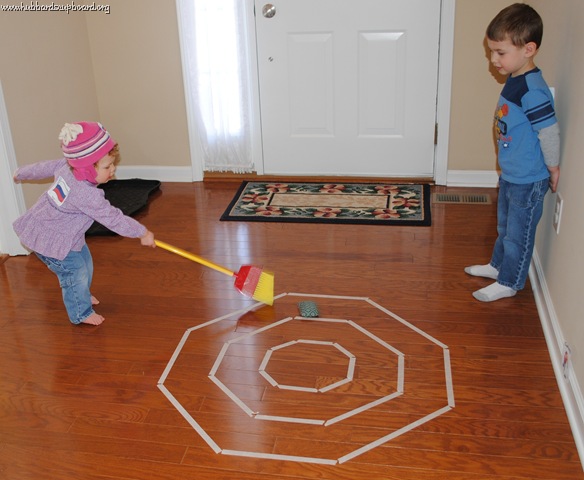
Curling
Curling

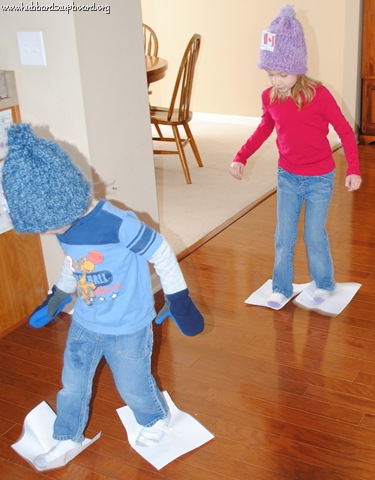
Cross Country Skiing
Ski

Luge
Luge

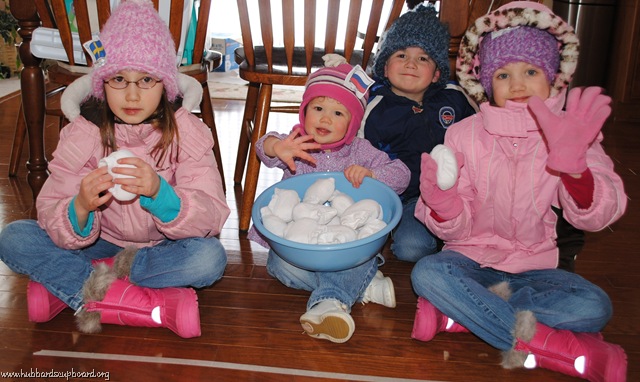
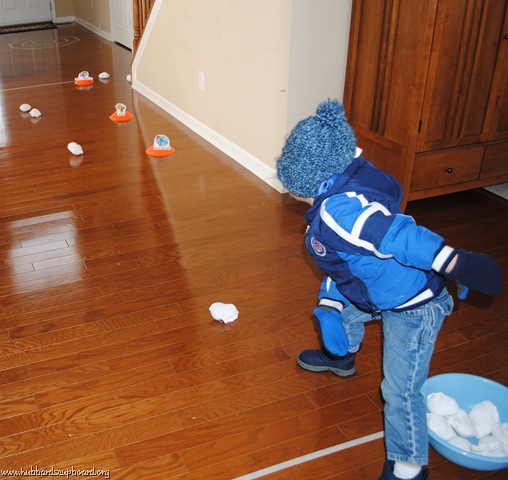
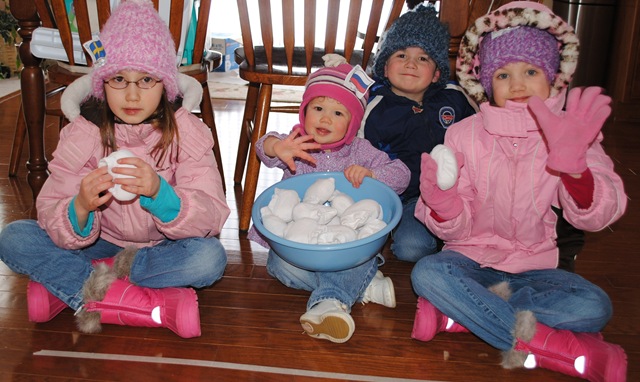
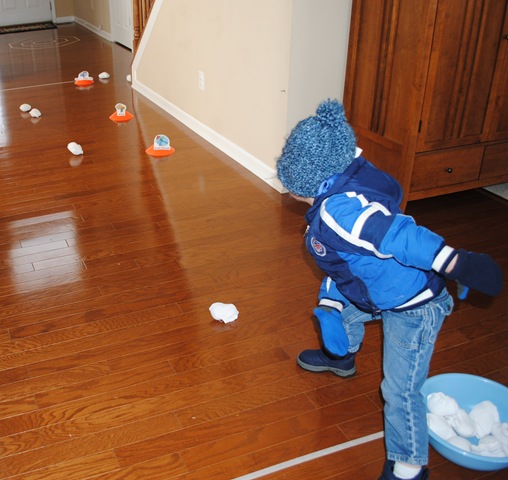
Snowball Throwing
Snowball Throw1
Snowball Throw3
Should he have been disqualified for stepping over the line?

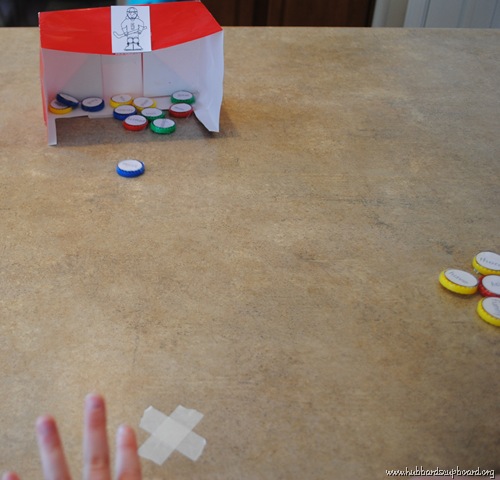
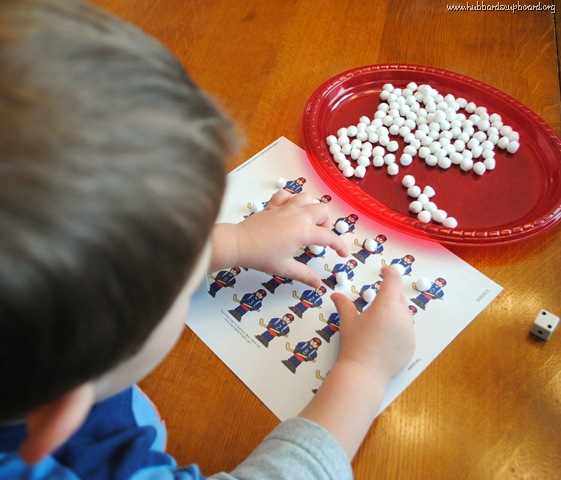
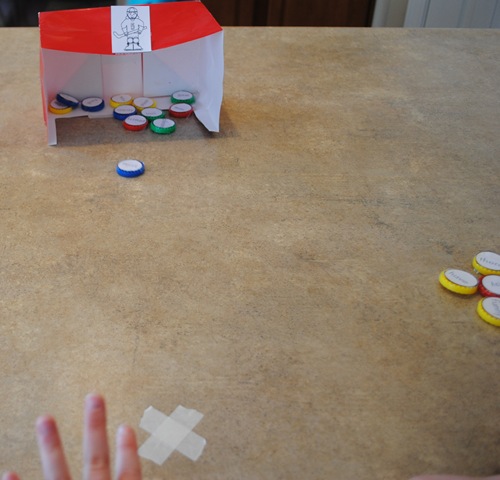
Sight Word Ice Hockey
Sight Word Hockey
This was a cute idea from Making Learning Fun.  You could also do addition or subtraction facts!

Additional Activities
For added fun, we brought some snow inside to discover ways to melt it.  Each child received an ice cube as well and tried to be the first one to make it disappear.  They tried adding salt to it, pouring warm water over it, rubbing it between their hands, and even tapping it.

The kids also did a Roll and count activity, Olympic word searches (1) (2), and watched as their ‘ice’ hockey player and figure skater glided across the counter.

Roll and Count

Closing Ceremony
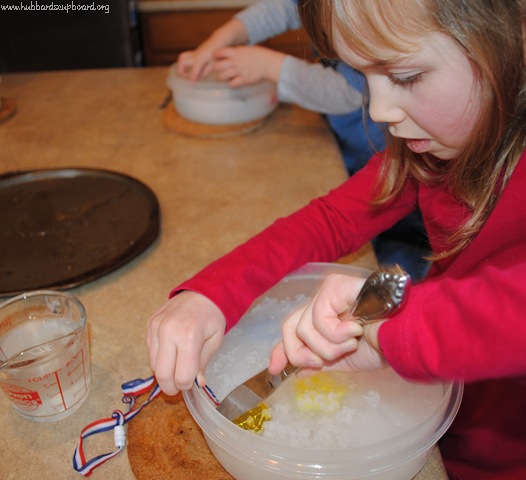
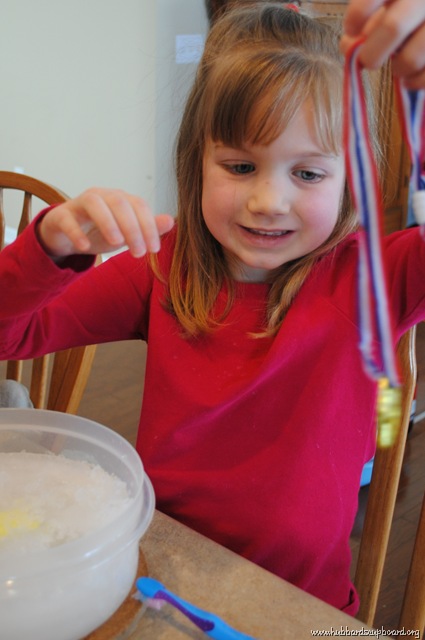
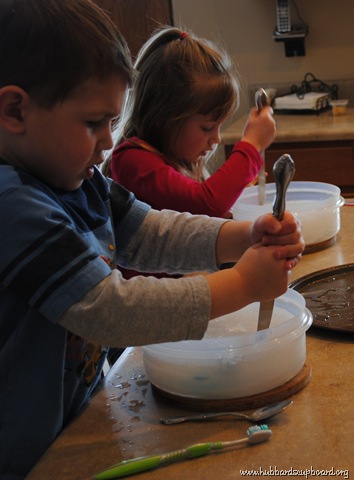
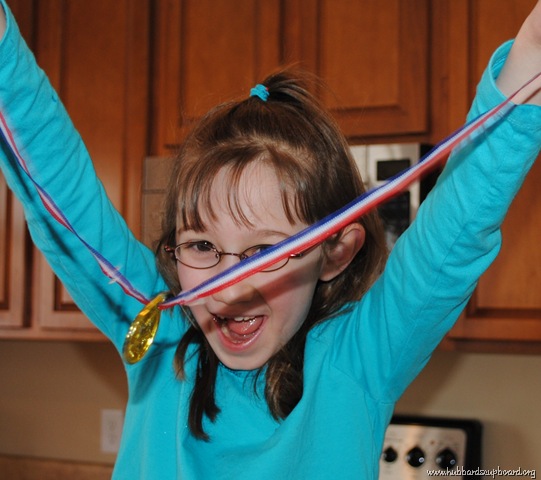
Instead of simply passing out gold medals to all of the Olympians, I had them work extra hard to earn their gold.  To their surprise, they were given bowls filled with ice treasures!  The Olympians, at first, experienced a bit of a dilemma, but then they began to enjoy the challenge as they dug, picked, scraped, brushed, pounded, and poured hot water over the ice in order to get to their medals!

Medal Ice Treasures1 Medal Ice Treasures2 Medal Ice Treasures4 Medal Ice Treasures3

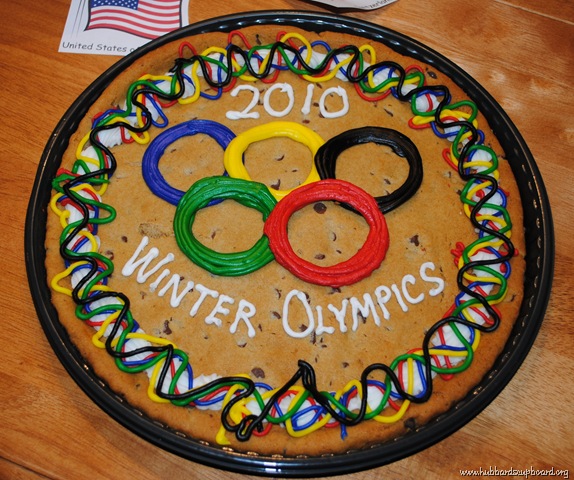
At the very end of the day, we even enjoyed a surprise Olympic sized cookie!  Congratulations to all of our Olympians.  They showed great sportsmanship and cheered each other on.

Closing Ceremony Cookie Olympic Table

Closing Ceremonies
What a fun, but exhausting day, celebrating the winter Olympics –INDOORS!

Guess What We Did!

DSC_0033 DSC_0042

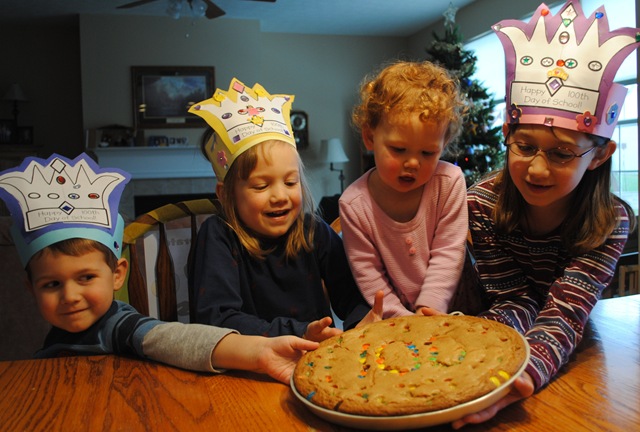
This week, we reached 100 days of our homeschool year!  Each year, on our 100th day of school, we have a day long celebration with loads of math activities and lots of fun!  Here are some of the things we have done over the past few years.

DSC_0027

Related Posts Plugin for WordPress, Blogger...