 Do you have something that you look forward to all year long? Maybe it’s an annual vacation, a gathering of friends, or a certain season?
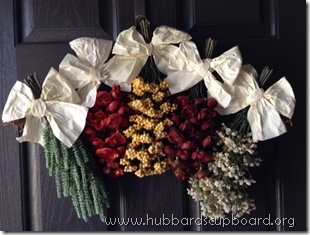
I would have to say that autumn has always been something that I eagerly await each year…the breath taking colors in which God paints the leaves, fall flowers, and plants – hues of orange, red, yellow, and brown,
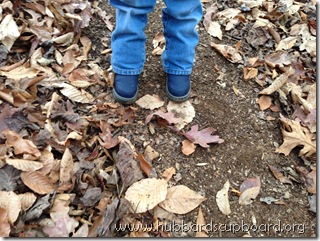
the refreshing cooler days and the crunch of leaves underfoot, perfect for walks or romping through the woods,
scents of apples, pumpkin, nutmeg, and cinnamon, and of course, the tastes!
Here is one treat that our family anticipates each fall… 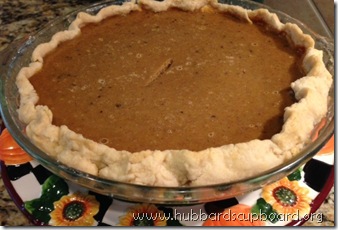 homemade pumpkin pie!
We acquired this recipe several years ago from a friend and are blessed each time we prepare it (usually in advance) and then savor it at special gatherings throughout the season.
Let’s Start!
First, you’ll need to bake your pie pumpkin.
Baking the Pumpkin
1) Take the stem off.
2) Cut the pie pumpkin in half from top to bottom.
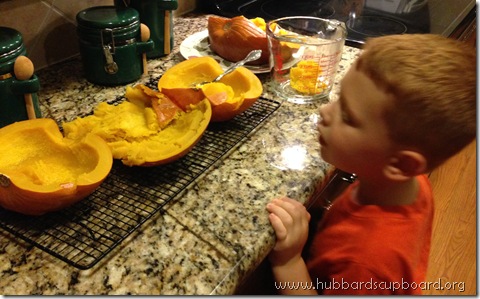
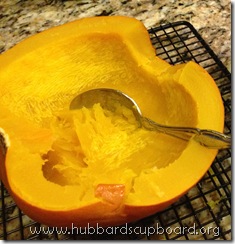
3) Scoop out all of the seeds and pulp. You may wish to use a melon scooper. (If you desire, save the seeds for roasting.)
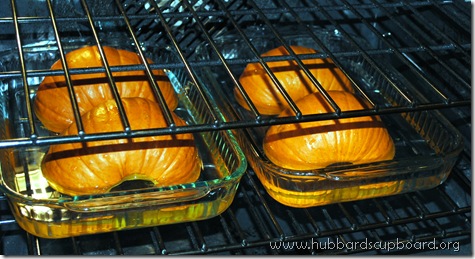
4) Place the shells cut side down in a 9 by 13 inch baking dish along with approximately 1 inch of water. Do not cover.
5) Bake at 375 degrees for 45 minutes or longer.
6) When you can poke it with a fork and it is soft, your pie pumpkins are ready to be removed from the oven.
7) Carefully remove the pumpkins from the pan and let them cool with the cut side up.
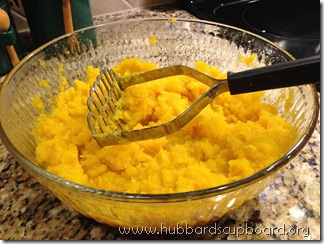
8) Once cool, scoop out the pumpkin and mash it with a potato masher.
Now, for transforming our pumpkin ‘mush’ into delicious filling for a pie! Make sure you have the following ingredients. (Please note: 1 1/2 cups of mashed pie pumpkin is needed to make one pie. It depends on the size of your pie pumpkin, but we typically are able to make 2 pies from each!)
Pumpkin Pie Filling
1 1/2 cups mashed pie pumpkin
1 can sweetened condensed milk
3/4 cup brown sugar
2 beaten eggs
2 TBS melted butter
1 heaping tsp cinnamon
1 tsp ginger
1/4 tsp cloves
3/4 tsp salt
1) Beat all of the ingredients together. (Yes, it will be soupy.) 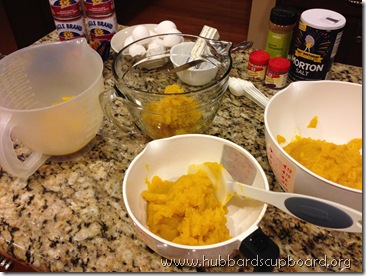
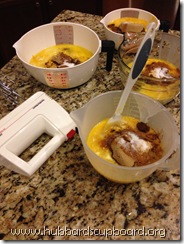
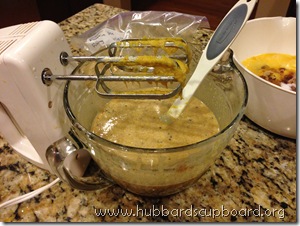
2) Freeze the pie filling in a gallon freezer bag to save for another time or pour into a pie shell to bake right away.
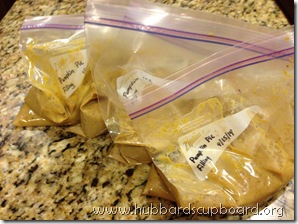
3) When you are ready to bake a pie, simply thaw a bag of pie filling. Once thawed, place it in a pie shell. 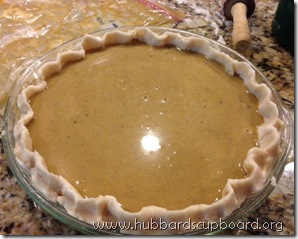
4) Bake at 400 degrees for 10 minutes. Then reduce heat to 325 degrees and bake an additional 50-60 minutes.
(The pie will be done when the top begins to crack and the filling is set and no longer runny and soupy. It should jiggle a bit like Jell-O, but be firm.)
We have four bags of this yummy ‘taste of fall’ waiting in our freezer…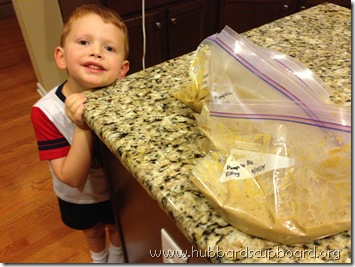
Well, make that three now. =)
Sometimes it is just too tempting to wait!

