As part of our small homeschool co-op, we have been trying to incorporate art projects that coordinate with our science studies. We’ve been attempting to also make sure that the projects chosen are not just ‘craftsy’, but have a purpose and include an art concept. One site that I have recently discovered that assists with the teaching of the elements of art is the Kitchen Table Classroom. I have fallen in love with her site and the variety of ways she incorporates the concepts of art in a hands on, easy to understand way.
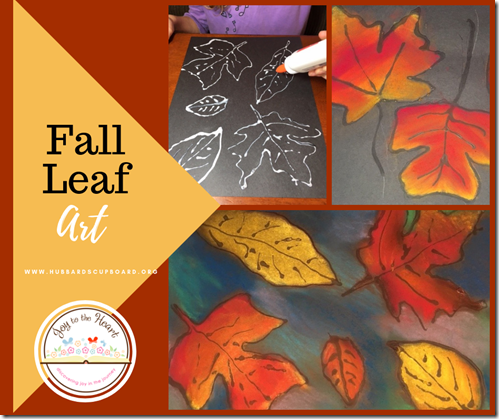
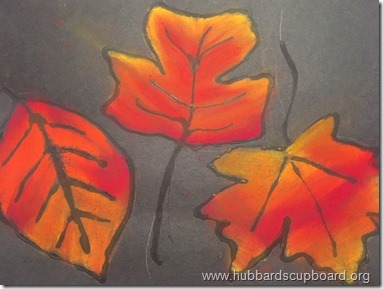
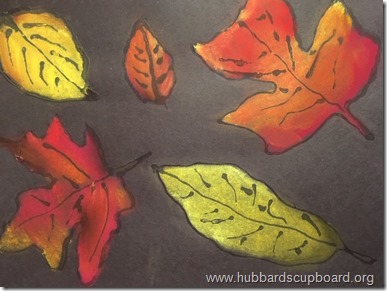
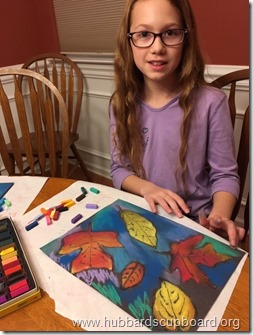
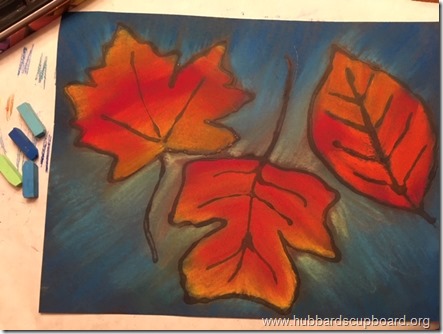
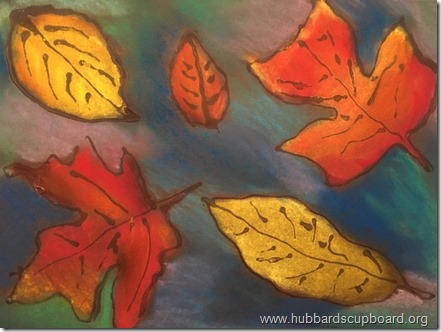
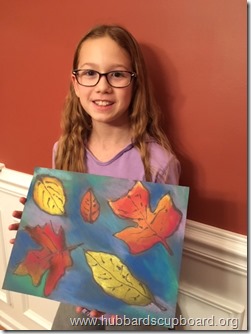
So, when desiring to spend an afternoon of fall art time with one of my daughters, I remembered seeing her vibrant chalk and glue leaf drawings. It was an enjoyable time of creativity and bonding, along with an easy review of contour lines, warm vs. cool colors, and blending! Below is what we did…
Steps to Creating Your Own ‘Fall Leaf Art’
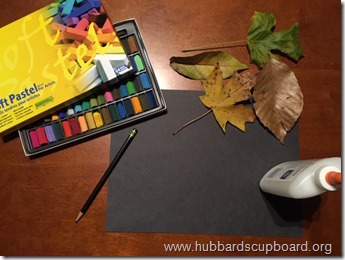
1) Gather supplies.
-
9 by 12 inch black construction paper
-
3-6 leaves (Collect a few different sizes and shapes. Choose ones that appeal to you. Please note, though, that some of the larger sized leaves may be easier for younger children to work with.)
-
pencil
-
bottled white liquid school glue
-
soft pastel chalks
2) Position and trace your leaves.
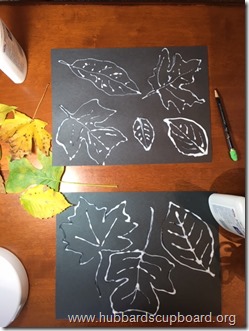
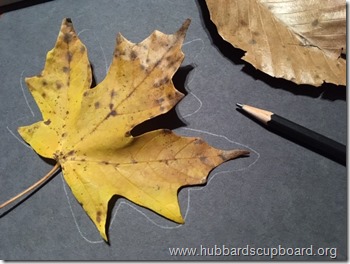
Arrange your leaves on a piece of black paper. Make sure to leave at least a finger space between the leaves. Using a pencil, outline the shape of each leaf. It doesn’t have to be exact – just get the basic outline. Also, study the veins of your leaves. Then, add lines to the inside of your penciled leaf to resemble a few of those veins.
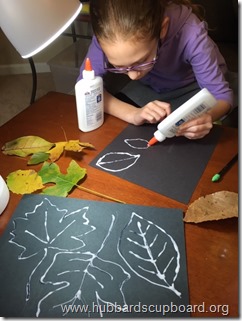
3) Outline with glue.
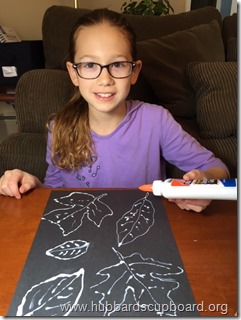
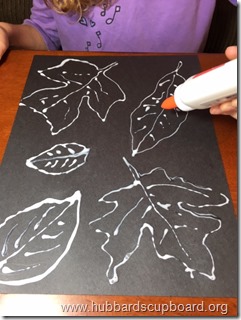
Use bottled liquid school glue to carefully trace over your penciled lines. It shouldn’t be thick and gloppy. Just gently squeeze and move slightly above your penciled line so that the tip of your bottle doesn’t rub against the paper. This will allow you to form smoother lines without breaks.
4) Air dry.
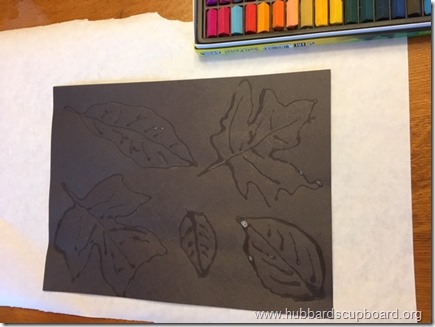
Allow your glued leaves to air dry. Ours took about 2 hours to dry completely. You will know that they are dry once all of the white glue lines are no longer visible. Instead, you should see a black outline of the leaves that are non-sticky to the touch.
5) Chalk the inside of your leaves.
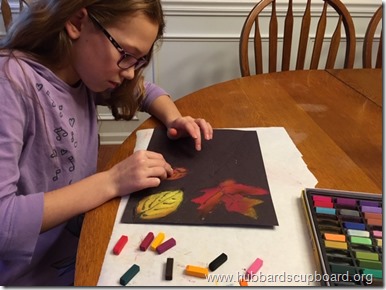
Use soft pastel chalk to add color to the inside of each leaf. Choose warm colors such as shades of red, yellow, orange, and brown. Start in one section of your leaf adding 2 colors. With your finger, gently rub and blend them together. Work your way across each leave, adding color and blending to form the warm colors of fall!
6) Chalk the background.
To fill in your background, choose a few soft pastel chalks in cool colors such as shades of blue, green, and purple. You may wish to use the darker color on the outer edge of your paper and gradually switch to lighter shades as you move to the center of your paper or use various colors throughout. Gently blend the colors with your fingers.
6) Voila!
And there you have simple, fun, enjoyable works of art that reflect the twirling, swirling, colorful leaves of fall!
May you enjoy the time of relaxed creativeness with your children! And, go check out all of the great projects, tips, and free printables offered by Jodi over at The Kitchen Table Classroom!
